Composting is a fantastic way to reduce waste and create nutrient-rich soil for your garden. By adding the right materials to your compost bin, you can accelerate the decomposition process and produce high-quality compost. You can compost a wide variety of organic materials, including kitchen scraps, yard waste, and even some household items.
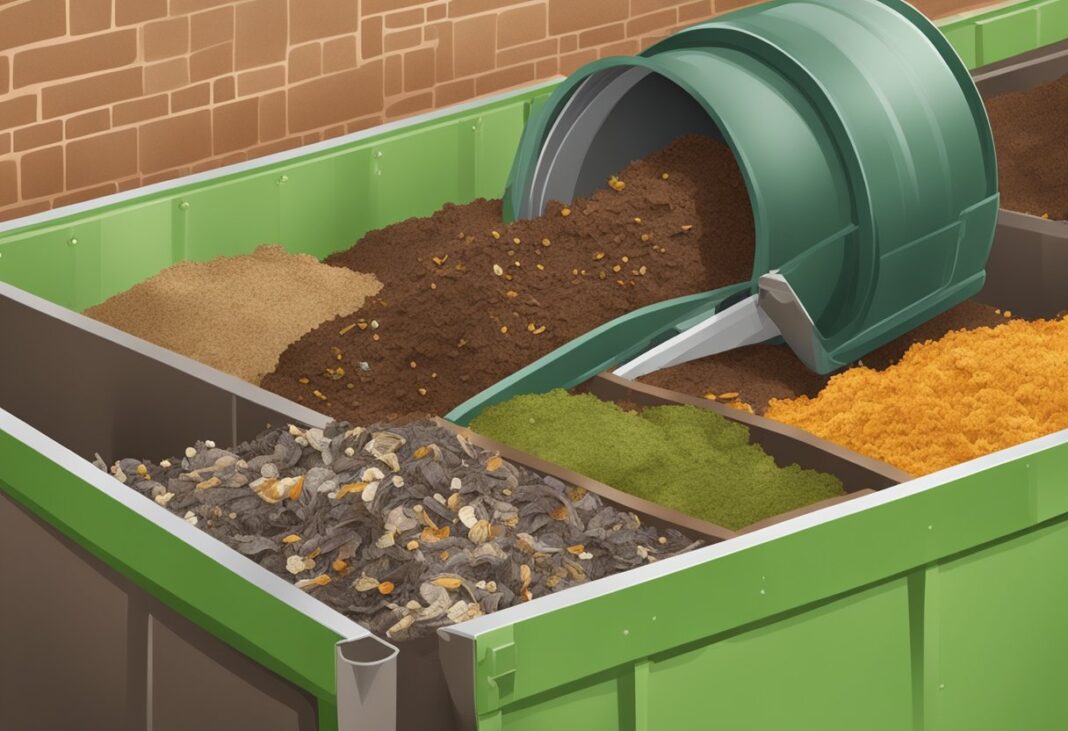
Creating a balanced compost pile is key to successful composting. Aim for a mix of “green” and “brown” materials in your bin. Green materials like fruit and vegetable scraps, coffee grounds, and fresh grass clippings provide nitrogen. Brown materials such as dry leaves, shredded paper, and wood chips contribute carbon. A good rule of thumb is to maintain a ratio of about 3 parts brown to 1 part green.
To get started, layer your compost materials in the bin. Begin with a 2-inch layer of browns, lightly water it, then add a 2-inch layer of greens. Repeat this process, ensuring you water each layer lightly. This layering technique helps create an ideal environment for decomposition and encourages the growth of beneficial microorganisms that break down the organic matter.
What to Compost
Composting involves balancing “green” and “brown” materials. Green materials provide nitrogen while brown materials supply carbon. Knowing what to add and avoid is crucial for a healthy compost pile.
Green Materials
Green materials are rich in nitrogen and help heat up your compost pile. Include fruit and vegetable scraps, coffee grounds, tea bags, and fresh grass clippings. Eggshells can be added but crush them first for faster decomposition. You can also compost hair, nail clippings, and pet fur.
Avoid adding meat, dairy, or oily foods as they can attract pests and create odors. Use caution with diseased plants, as some pathogens may survive composting. Limit citrus peels and onions, as they can be acidic and slow down decomposition.
Add green materials in moderation to maintain a proper balance in your compost bin.
Brown Materials
Brown materials provide carbon and help aerate your compost pile. Include dry leaves, straw, sawdust, cardboard, and paper products. Shred these materials for faster decomposition. Wood chips and small twigs can be added but take longer to break down.
You can compost dryer lint, cotton and wool rags, and natural fibers. Avoid glossy paper, colored ink, or treated wood, as they may contain harmful chemicals.
Use more brown materials than green, aiming for a ratio of about 3 parts brown to 1 part green. This balance helps control moisture and odor in your compost bin.
Dos and Don’ts
Do:
- Add a variety of materials for a nutrient-rich compost
- Chop or shred larger items for faster decomposition
- Keep your compost pile moist but not soggy
- Turn your compost regularly to aerate it
Don’t:
- Add meat, fish, dairy, or oily foods
- Include pet waste or cat litter
- Compost treated wood or diseased plants
- Add materials treated with pesticides or herbicides
Remember to maintain a balance between green and brown materials. If your compost smells bad or isn’t decomposing, adjust the mix. With proper care, you’ll create nutrient-rich compost for your garden.
Setting Up Your Compost Bin
Proper setup of your compost bin is crucial for successful composting. Selecting an ideal location and preparing the bin correctly will create optimal conditions for decomposition and nutrient-rich compost production.
Choosing the Right Location
Pick a spot in your yard that’s convenient to access year-round. Aim for a level area with good drainage to prevent waterlogging. Place the bin on bare soil to allow beneficial organisms to enter from below.
Ensure partial shade to maintain moisture and temperature. Avoid areas near trees with extensive root systems. Keep the bin at least 2 feet away from structures to prevent moisture damage.
Consider proximity to your kitchen for easy disposal of food scraps. A location close to your garden is ideal for adding yard waste and using the finished compost.
Preparing the Bin
Start by clearing the chosen area of grass and weeds. Create a base layer using coarse materials like small twigs or straw to improve airflow. This layer should be about 4 inches thick.
Add a thin layer of soil or finished compost to introduce beneficial microorganisms. Moisten the base layers lightly with water.
Assemble your bin according to manufacturer instructions if using a pre-made model. For DIY bins, ensure proper ventilation by drilling small holes or leaving gaps between wooden slats.
Line the sides with hardware cloth to deter pests if needed. Install a secure lid to keep out unwanted animals and excessive rainwater.
Maintaining Your Compost
Regular maintenance is crucial for creating nutrient-rich compost. Proper care ensures optimal decomposition and prevents issues like odors or pests.
Balancing Greens and Browns
Maintain a proper balance of green and brown materials in your compost bin. Aim for a ratio of about 3 parts browns to 1 part greens. Browns include dry leaves, straw, and shredded paper. Greens consist of fresh grass clippings, fruit and vegetable scraps, and coffee grounds.
Monitor the pile regularly and adjust as needed. If it’s too wet or smelly, add more browns. If it’s not decomposing quickly enough, add more greens. Chop materials into smaller pieces to speed up decomposition.
Mix new additions thoroughly into the existing pile. This helps distribute moisture and nutrients evenly.
Moisture and Temperature Control
Keep your compost pile moist but not soggy. It should feel like a wrung-out sponge. If it’s too dry, add water. If it’s too wet, mix in dry browns or leave the lid off to allow excess moisture to evaporate.
Turn the pile every 1-2 weeks to aerate it and distribute heat. This promotes even decomposition and prevents anaerobic conditions. Use a pitchfork or compost aerator tool to mix the materials thoroughly.
Monitor the temperature with a compost thermometer. A healthy pile should reach 130-150°F (54-66°C) in its center. If it’s not heating up, add more greens or turn it more frequently.
Frequently Asked Questions
Composting involves many important considerations about what to add, how to start, and proper maintenance. These key factors determine the success of your composting efforts.
What materials are suitable to add to a compost bin?
You can add a variety of organic materials to your compost bin. Yard trimmings, garden debris, fruit and vegetable scraps, coffee grounds, and filters are all excellent additions. Newspapers and other carbon-rich materials help control moisture and balance the mix.
What should not be included in a composting box?
Avoid adding meat, dairy products, oils, and diseased plants to your compost bin. These items can attract pests, create odors, and potentially spread plant diseases. Also, keep out inorganic materials like plastic, metal, and glass.
How do you properly start a compost bin?
Start your compost bin by layering brown and green materials. Begin with a layer of browns (dry materials) at the bottom, followed by a layer of greens (wet materials). Continue this layering process until your pile is about 3 feet high. Keep the pile moist but not waterlogged.
Can you continuously add materials to an active compost bin?
Yes, you can continuously add materials to an active compost bin. As you add new items, mix them into the existing pile. This helps incorporate fresh materials with partially decomposed ones, speeding up the composting process.
What are the basic steps for composting at home for beginners?
Choose a suitable location for your bin. Collect a mix of brown and green materials. Layer these materials in your bin, starting with browns. Keep the pile moist and turn it regularly to aerate. Monitor the temperature and adjust the mix as needed.
Are there any drawbacks to maintaining a compost bin?
Compost bins require regular attention and some physical effort to turn the pile. They may produce leachate, a liquid that needs proper management. In some cases, compost bins can attract pests if not maintained correctly. Improper balance of materials might lead to slow decomposition or odors.


